Keeping railway repairs on-track with Artec Leo & Ray II 3D scanning
Challenge: Finding a faster, more accurate, less labor-intensive means of identifying railway line defects and planning prompt repairs to ensure rail services stay operational.
Solution: Artec Leo, Artec Ray II, Artec Studio, Geomagic Design X
Result: Ditching tapes and steel rules for Artec 3D scanning has revolutionized voestalpine’s inspection process – lending it greater reliability while making it easier to carry out. Traditional measurement also took up to two hours, and digital capture can now be completed in minutes.
Why Artec 3D?: Both wireless and target-free, Leo & Ray II allow for rapid, accurate, safe infrastructure capture – and transfer data seamlessly to Artec Studio for remote processing.
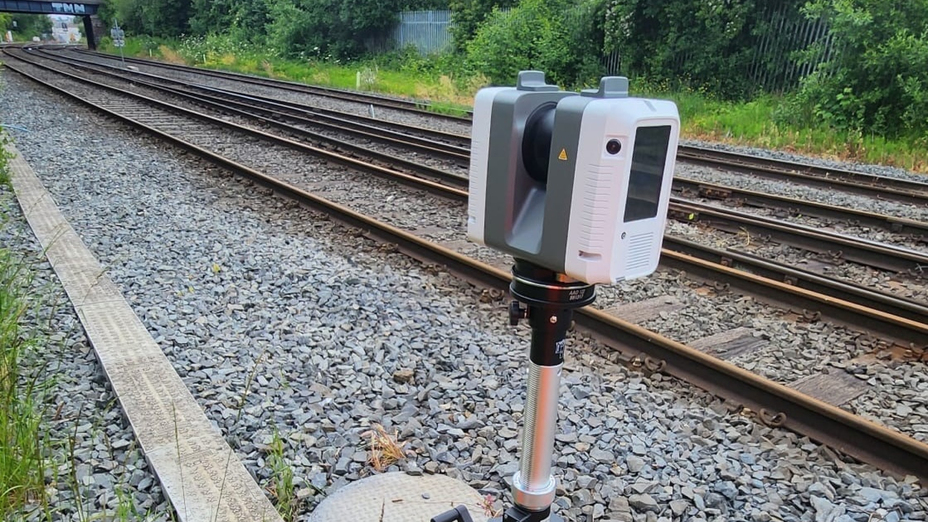
Artec Ray II mounted to its tripod, 3D scanning a railway track for inspection. Image courtesy of voestalpine Turnout Technology UK
To prevent derailments, rail infrastructure requires regular maintenance, as anything from failing joints to worn-out blocks at the end of railway lines (or ‘railheads’) pose a potential danger.
Yet, despite wider technology advances, railways continue to be inspected with traditional tools. The problem with measuring identified defects using tapes, string, or engineering squares is that it can take up to two hours at a time and require skilled staff better utilized elsewhere.
Some railways don’t allow metal tools on-track either, so engineers need to use plastic versions that don’t deliver the same accuracy. Manual measurements also come with a risk of vital details being missed – meaning they aren’t 100% trustworthy. And when you add scale and environmental factors into the mix, rail inspection can quickly become overly complex.
To tackle these issues, voestalpine Turnout Technology UK has taken a drastic step – digitizing inspection with Artec Leo & Artec Ray II.
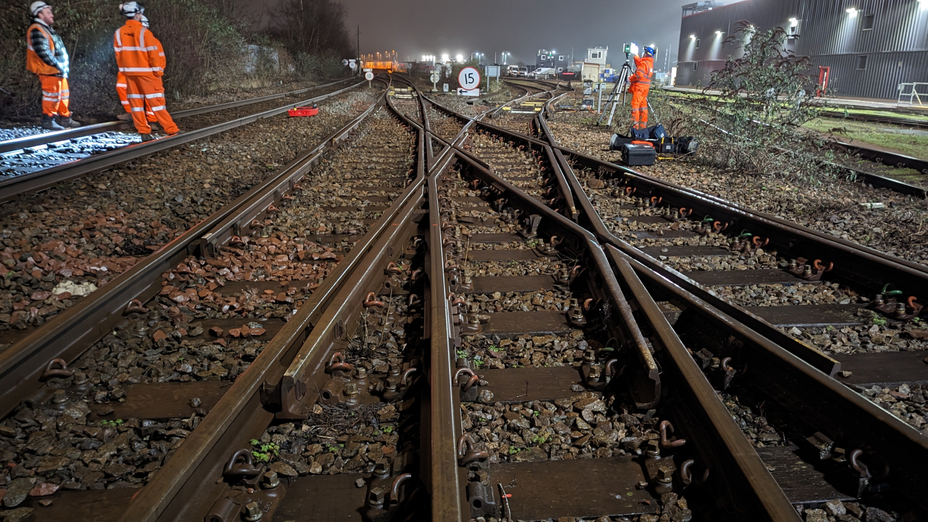
voestalpine Railway Systems engineers setting up for inspection. Image courtesy of voestalpine Turnout Technology UK
Already, the voestalpine Railway Systems subsidiary and manufacturer of rail track pieces for changing direction, or ‘turnouts,’ as well as related parts and fastening materials, is reaping the benefits. Artec 3D scanning is not only faster, it’s delivering sub-millimeter accurate data with the potential to improve results across other voestalpine services, especially in areas like reverse engineering and quality control.
Changing track to digital inspection
voestalpine was first introduced to Artec Leo and Ray II by Central Scanning. Recognizing high-speed, digital data capture’s potential in the rail sector, the Artec Ambassador delivered an expansive demo that instantly blew them away.
Unlike other 3D scanners on the market, neither Leo nor Ray II relies on targets. With the idea of adding targets for every project proving unpopular among clients, voestalpine quickly realized that acquiring more advanced target-free devices would be better for business.
Getting all-in-one, wireless scanners has since turned out to be a huge win. Using wired devices would not only require the setting up of on-site base stations, it would come with safety implications. Leo & Ray II on the other hand, are PC autonomous and feature built-in displays that allow for seamless capture, along with the relaying of data to voestalpine’s Edinburgh HQ for processing.
In fact, both scanners are so easy to use, voestalpine doesn’t even need to send engineers for data gathering any more, freeing them up to complete other value-adding tasks.
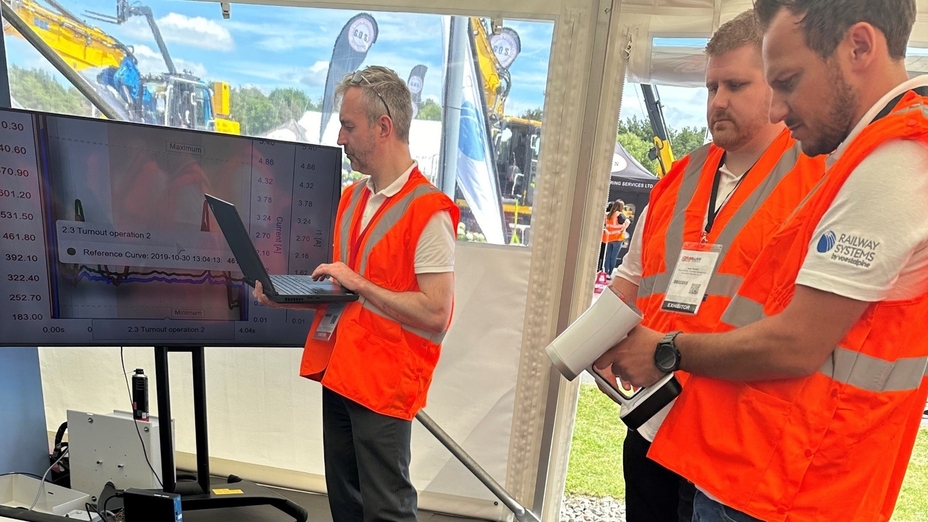
voestalpine Railway Systems engineers going through data captured with Artec Leo. Image courtesy of voestalpine Turnout Technology UK
Then there’s the speed, scale, and quality of the data they capture. While Leo scans even the most complex surfaces at a rate of 35 million pts/s, picking up full-color, high-resolution data as it goes, Ray II captures wider scenes from a range of 130 meters (427 ft). Together, they allow for greater accuracy over distances (typically 35 meters – 115 ft – or more) and offer a unique proposition: creating digital twins of entire areas filled with remarkably detailed objects.
Today, the firm combines them to scan sites from top to bottom. With Leo, a device capable of capturing surfaces with an accuracy of up to 0.1 mm, its engineers are now able to gather data with enough detail to be certain that no fault goes unnoticed – faster than ever before.
Modeling rail infrastructure with photorealism
voestalpine’s scan-to-mesh and 3D modeling workflows start in Artec Studio. The 3D data capture and processing software is packed with algorithms for accelerating rail inspection, whether it be through rapid scan registration, easy-to-use boolean tools for mesh editing, or the multi-step process-automating Autopilot.
As Artec Studio continues to evolve, it’s increasingly adding features for essential reverse engineering and inspection tasks, without exporting to third-party programs. With 2D section analysis, meshes can now be inspected section-by-section. Autosurfacing, meanwhile, allows users to fit mesh surface patches and turn them into CAD bodies in a single click.
For voestalpine, Artec Studio phototexturing – which sees scans supplemented with camera texture data for greater model realism – has also turned out to be very useful, particularly when it comes to presenting results to clientele, many of whom aren’t engineers.
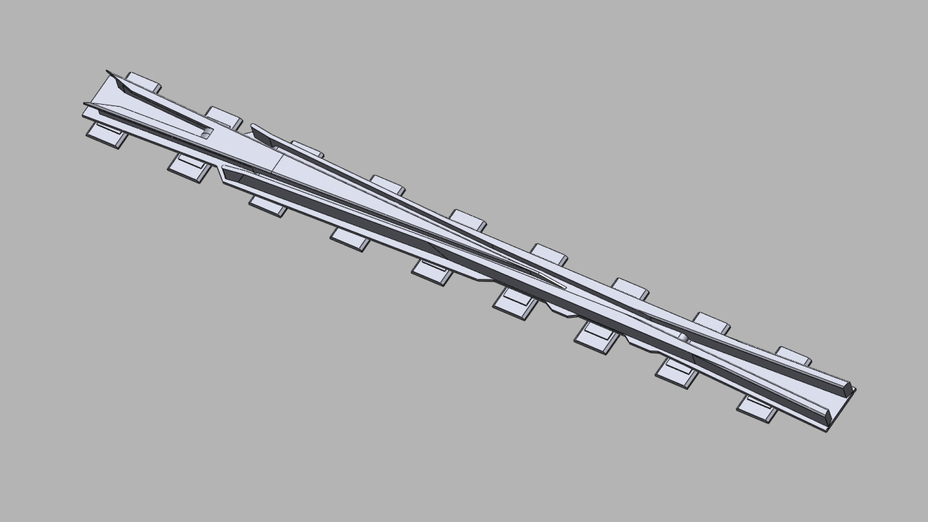
A CAD model of a turnout part made from an Artec 3D scan. Image courtesy of Central Scanning
In more advanced inspection and reverse engineering projects, voestalpine’s team turns to Geomagic Design X. With an array of tools for converting scans into feature-based CAD models, the software is perfect for digitizing the designs of discontinued damaged parts.
Take a recent project that tasked the company with replacing concrete bearers (underrails) installed in the early 2000s. Removing these for measurement would’ve delayed local services, but Artec 3D scanning them in-situ yielded all the information needed to make new ones.
Digital rail inspection: Full steam ahead
With known component scans yielding highly repeatable, accurate results, voestalpine has begun expanding into new areas, digitizing less familiar parts with Leo and Ray II.
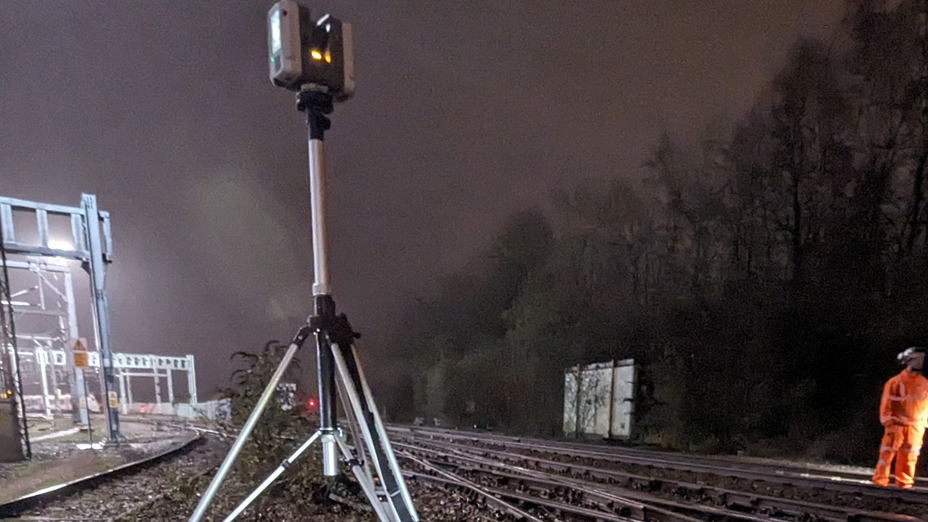
Artec Ray II fully extended on its tripod for maximum capture range. Image courtesy of voestalpine Turnout Technology UK
That’s not all. Artec Studio and Design X are so well integrated, the company is now considering how the technology can be applied more broadly in quality control. Even building information modeling or ‘BIM’ – the process of digital design and project optimization in construction – is being seen as a significant area of opportunity for expansion.
“3D scanning continues to be a great success for voestalpine, with initial results coming back as expected. This is giving us great confidence that we can move into lesser known components,” voestalpine said on its initiative. “Geomagic and Artec Studio also work so well with each other, we are looking at expanding our 3D scanning activities into BIM and in-house quality control.”
Scanners behind the story
Try out the world's leading handheld 3D scanners.


